Prop
Any motor, no matter how powerful he is, by itself it can not provide the aircraft with the movement without an engine. In case of an airplane the engine is an airscrew. In this article we will try to make one such.
Just let me note, to the screw imposed three requirements, namely:
- The smallest weight, that is possible
- The maximally smooth of the surface
- The ideal balance
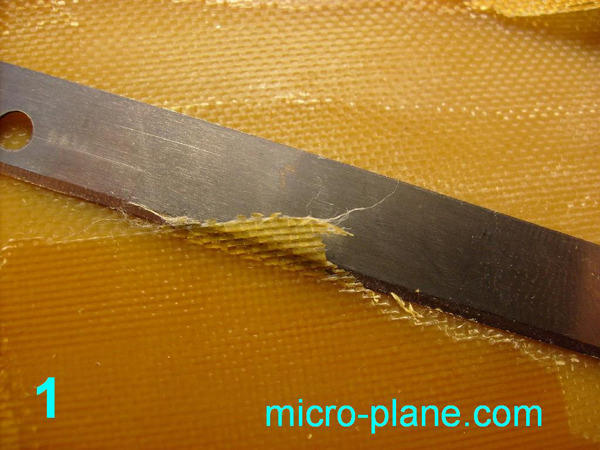
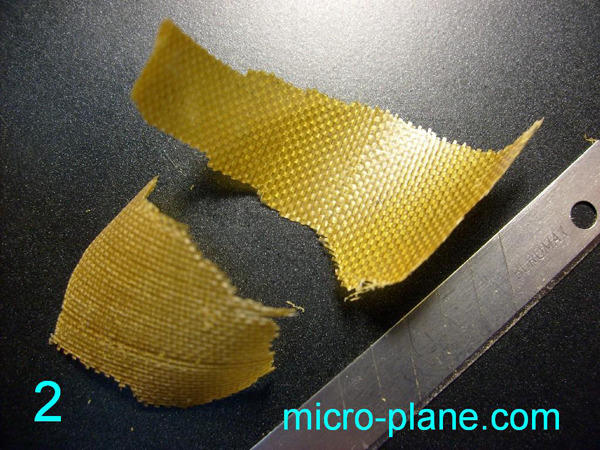
Traditionally, the material for our «homemade products» must be as far as possible easily accessible, in our case it is fiber-glass plastic. With the help of the office knife remove top lacquered layer from glass fabric. (Caution! Don’t injure yourself!) (photo 1, 2)
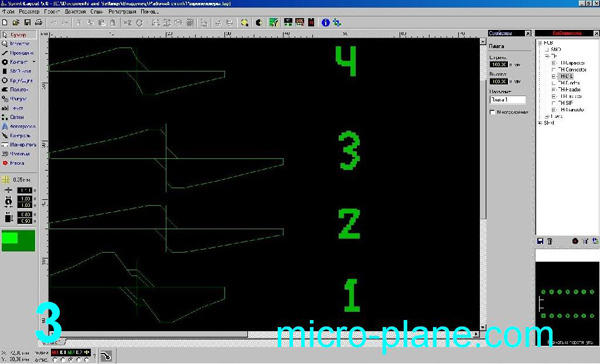
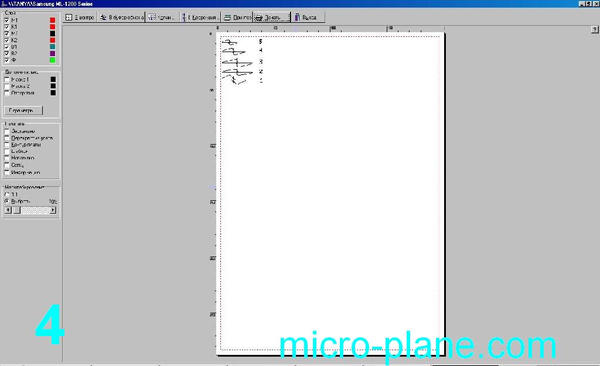
Now we have to draw the contours of a future screw, in principle, this operation can be done in any suitable way, for example, with suitable software. The main thing to find the "ideal" ratio of diameter to the width of the future screw, and, of course, to keep the absolute equal size of the blades! In my opinion, it is better to use a free program available online – Layout 5.0, as shown in the screenshots (photo 3, 4)
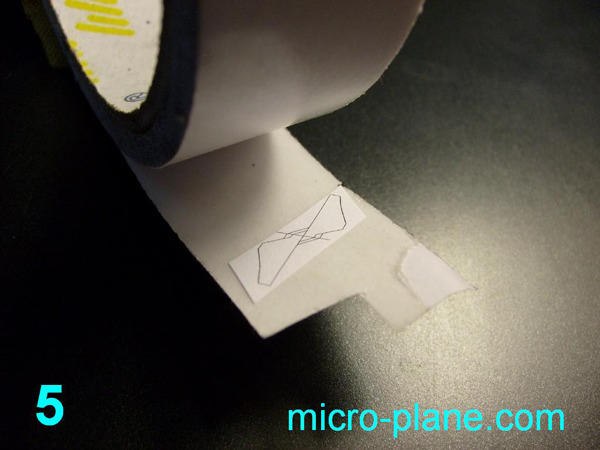
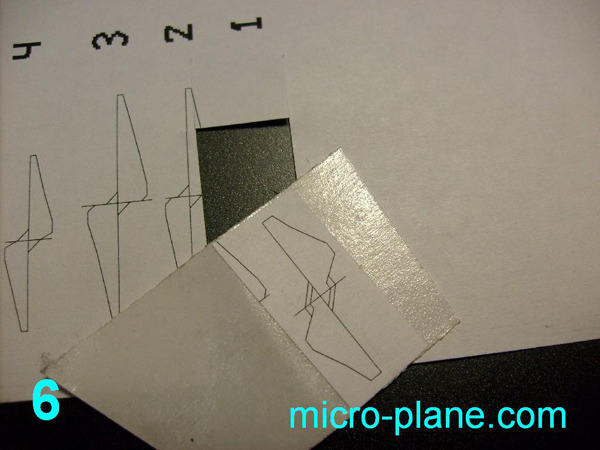
The attached file includes drawings of a few airscrews. In this article we use variant number №1. In my opinion, it is suited the best for the high-speed motor. So drawing is printed. At this stage, we need a thin double-sided sticky tape. Affix the drawing of the screw to the sticky tape (photo 5, 6)
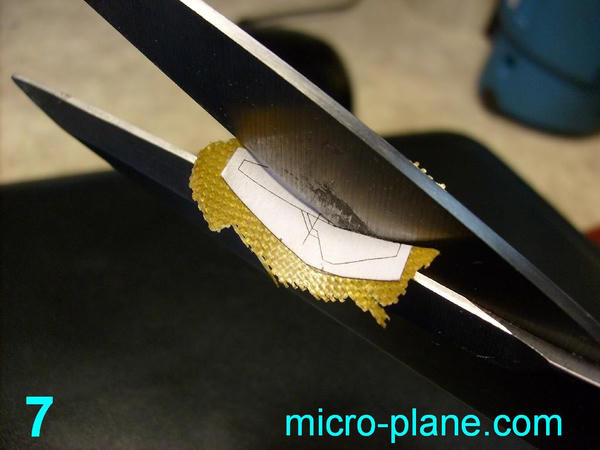
Than, affix the drawing to our band of the glass fabric and with the sharp shears we are cutting out the blank (photo 7)
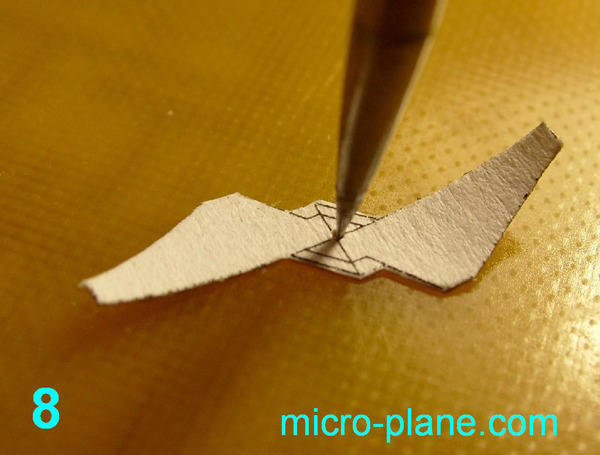
At this stage, don’t forget to pierce with an awl the blank’s center (photo 8)
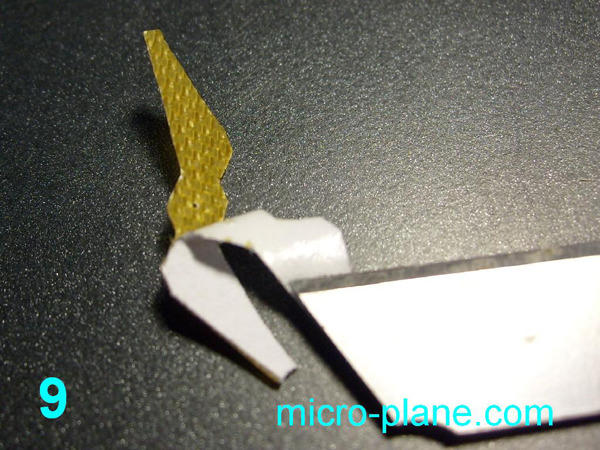
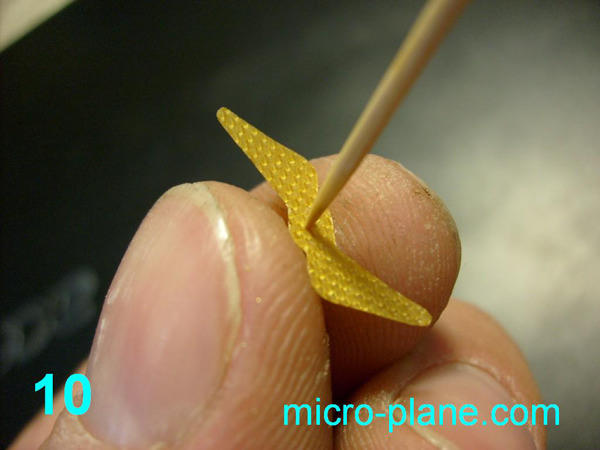
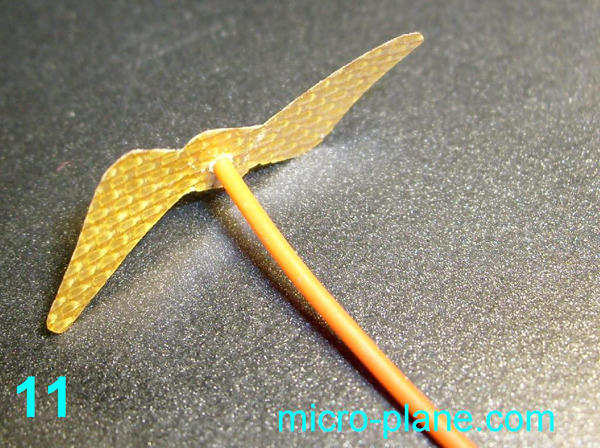
Pierced? There now! We can steam the drawing off and start to bring the bore to the necessary diameter (The bushing must to go in the bore tightly!). In the capacity of the bushing we can use a piece of covering of thin wire. The sharp corners must to be planarized with the help of small-grained emery paper (photo 9, 10, 11).
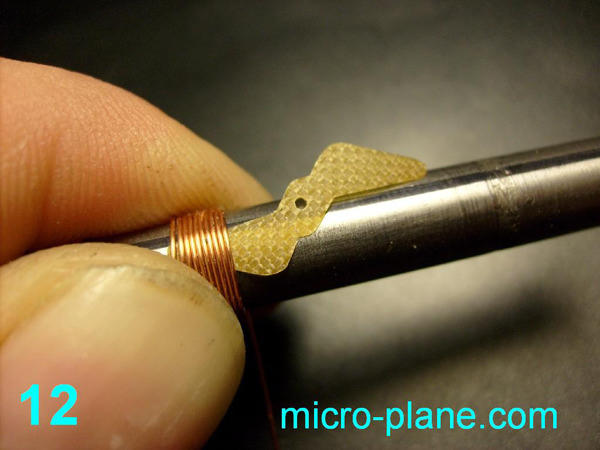
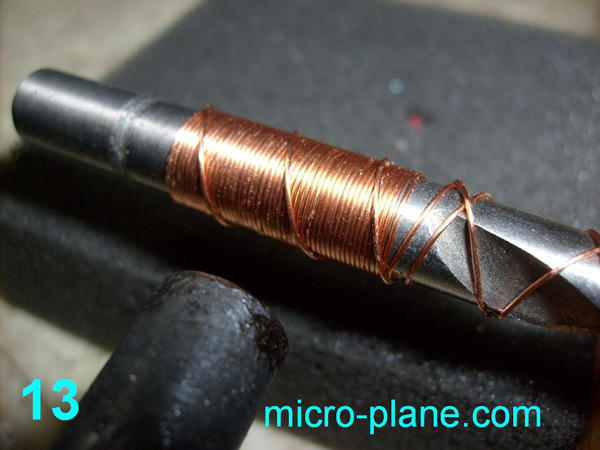
The blank is finished. Now it has to be shaped and stiffened. For this we use the boring bit (diameter 8 mm or another one). Now put the blank over the boring bit and tightly wind the blank along the full length with enameled wire. The idea is to heat the lacquered layer of glass fabric and than after cooling-down the blank we will have the form of the boring bit (photo 12, 13).
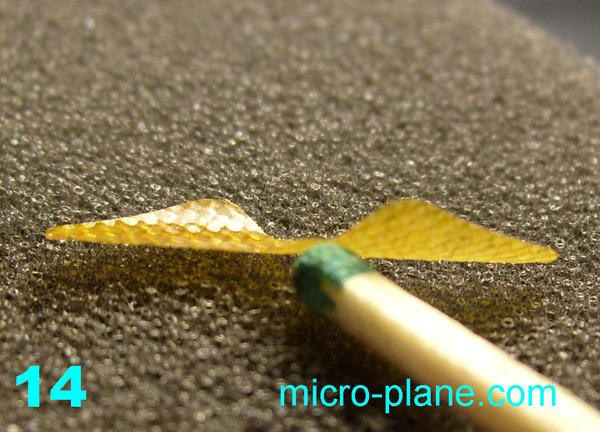
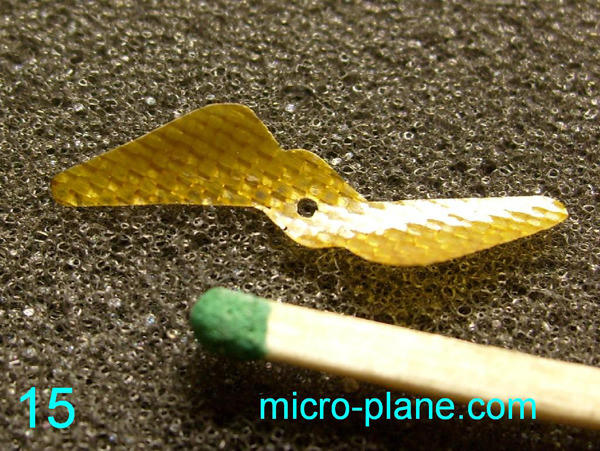
What happened can be seen in the photo 14,15.
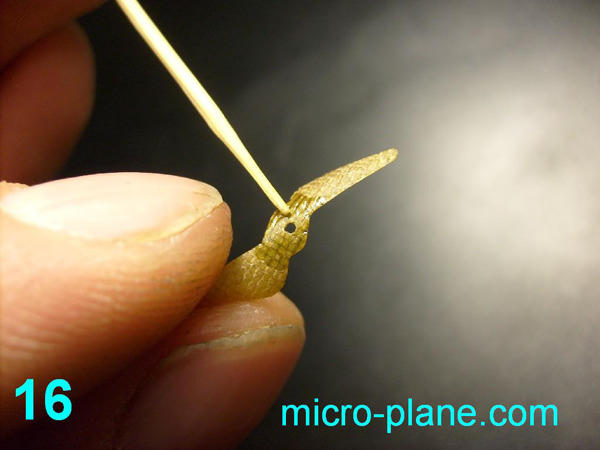
Our task in the next step is to strengthen the weakest point of the construction via the impregnation with superglue (photo 16).
I don’t recommend cover all the construction with the glue – it appreciable adds weight.
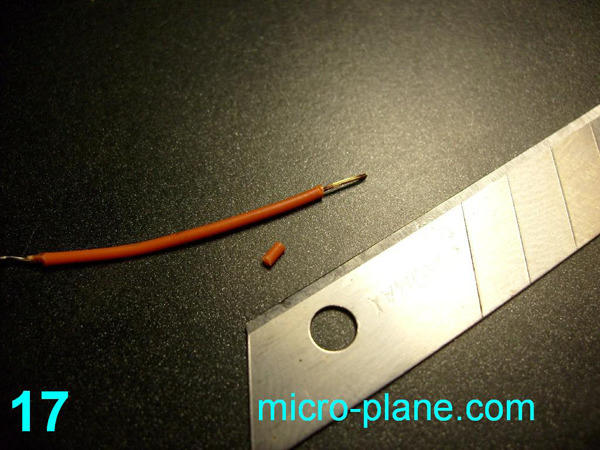
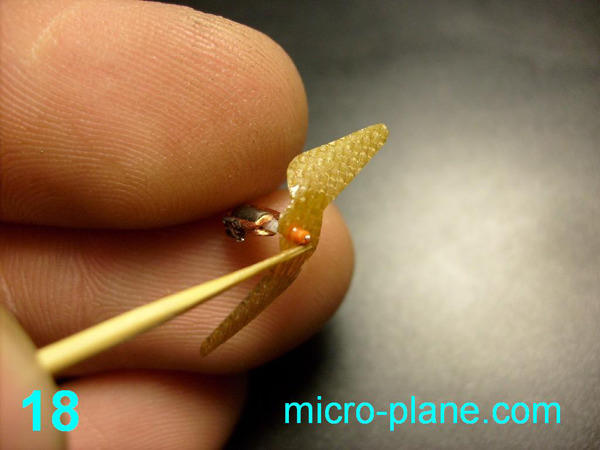
Especially as because, the construction has the necessary safety factor. Than get the bushing on the motor’s axle, while the airscrew on the bushing (meanwhile it is necessary to regulate airscrew equal).
You can slightly blow on the airscrew and watch for the circle that the airscrew makes in the air. At the same time you correct it gradual. If all is balanced than glue the juncture (photo 17, 18).
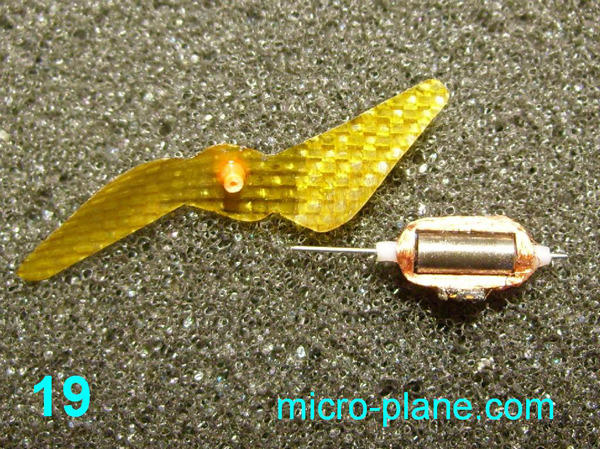
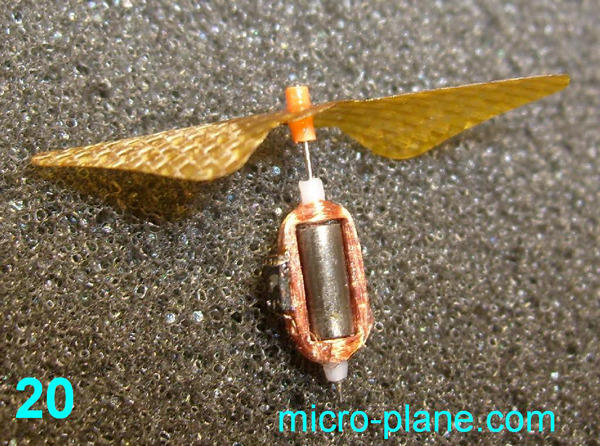
Ready airscrew looks like this: (photo 19, 20).
By choosing the size of drawing for printing and the diameter of the boring bit, you can make several different screws, then to choose the best copy for your unique motor. When printing, I used 70 percent the size of the original.
Good luck! I look forward to your questions at ! the forum.
DOWLOAD layout5 + file.

